10 Easy, Low-Cost Scaffolding Tools for Your Classroom
August 5, 2025
Updated on 8/5/2025
Scaffolding tools (temporary supports gradually faded when students no longer need them) are a highly effective way to meet the needs of diverse learners and help all your students learn new concepts and skills. Many educators already have an array of scaffolds in their teaching toolbox, but maybe you’re looking for a few more easy-to-use, low-cost suggestions you can try with your students.
 In today’s post, check out 10 scaffolding tools that any teacher can implement in the classroom. Adapted from Fundamentals of Literacy Instruction and Assessment, 6–12, edited by Martha C. Hougen, many of these suggestions focus on supporting language and literacy skills, though they can be easily adapted to other classes and contexts.
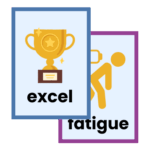
 Picture support for vocabulary. Whenever it’s appropriate and possible, apply a picture to a new vocabulary word you’re teaching. When students connect the word to a visual representation of it, they’re more likely to remember its meaning.
 Highlighting tape. This trick is especially useful when you ask students to locate specific things within a text, such as roots, base words, affixes, or other words or word parts. Give them colorful highlighting tape to help mark and keep track of what they’ve identified.
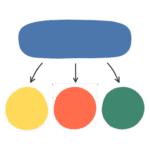 Graphic organizers. Used in many classrooms for different purposes, graphic organizers are a versatile addition to your toolbox. They can help students document their thinking; visually represent their understanding of a story or an informational text; and map out texts before, during, and after reading. (If you’ve thought about using this tool but you’re not sure how to get started, this video shows an example of a teacher filling out a graphic organizer with her students. And this clip offers a quick, sketchnote-style intro to the benefits and types of graphic organizers.)
 Manipulatives. Tactile, hands-on learning tools can be useful in many contexts, including word work, concept sorting, and story writing. Some examples are vocabulary cards, story dice, word games, and 3D models of parts of stories. (You can make your own inexpensive learning tools; see this post for five neat ideas for DIY manipulatives using materials from the dollar store.)
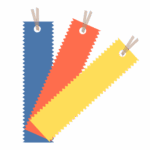 Bookmarks. Some students may have difficulty finding their place in texts or staying on track when they’re reading. A simple paper or cardboard bookmark provides a simple, low-or-no-cost solution to help them stay on point.
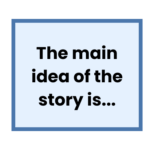 Sentence stems. When you’re asking students to develop sentences that include new vocabulary or multiple ideas, some learners may feel stuck if you ask them to start from scratch with challenging concepts. Consider providing sentence stems so they have a starting point for their thoughts. (Check out these examples of sentence stems and how they’re used in the classroom.)
 Question cards. As your students work through stories and informational texts, question cards can be a good tool for helping them focus. Cards can be printed with thought-provoking questions about the main ideas and themes of the story, character decisions and motivations, key supporting details, and other important facts and ideas about the text.
 Quick-reference lists. Printed lists of essential facts can provide learners with the support they need to read and understand new words. For example, lists of common Greek and Latin roots can be a big help when students are working to decode content area words, and lists of common prefixes and suffixes are a valuable support for students striving to decode multisyllabic words.
 Discussion roles and directions. During class discussions, some students may worry about what you expect from them and what they’re supposed to be doing. Defuse fears by clarifying roles and responsibilities before a discussion. Post directions and expectations on the board or pass them out so students will have an easy reference to keep on their desks during the discussion.
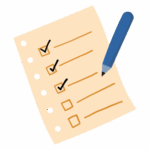
 Entrance and exit slips or tickets. These simple tools, given at the beginning and end of class, help students take accountability for their learning. Use them to encourage students to ask and answer questions, make connections between lessons, and reflect on what they learned. (This article gives you a good intro to how to use entrance and exit slips, with real-life examples.)
Use the scaffolding tools in this article—and your own creative ideas—to support the reading and writing, problem-solving, and independent critical thinking skills of all your students. And think of your scaffolding tools like the platforms that support workers as they paint a tall building. Use them as necessary, and then remember to reduce and remove the scaffolds when your students make progress and don’t need them anymore.
Have a favorite scaffolding tool or strategy? Tell us about it in the comments below!
EXPLORE THE BOOK
 Fundamentals of Literacy Instruction and Assessment, 6–12
Edited by Martha C. Hougen
A perfect first text on adolescent literacy, this expertly organized volume covers all the fundamentals of how reading and writing skills develop in older students and how to teach literacy within key academic content areas: language arts, math, science, and history.
Topics
More posts like this

14 Small Actions that Make a Big Difference to Students
July 7, 2026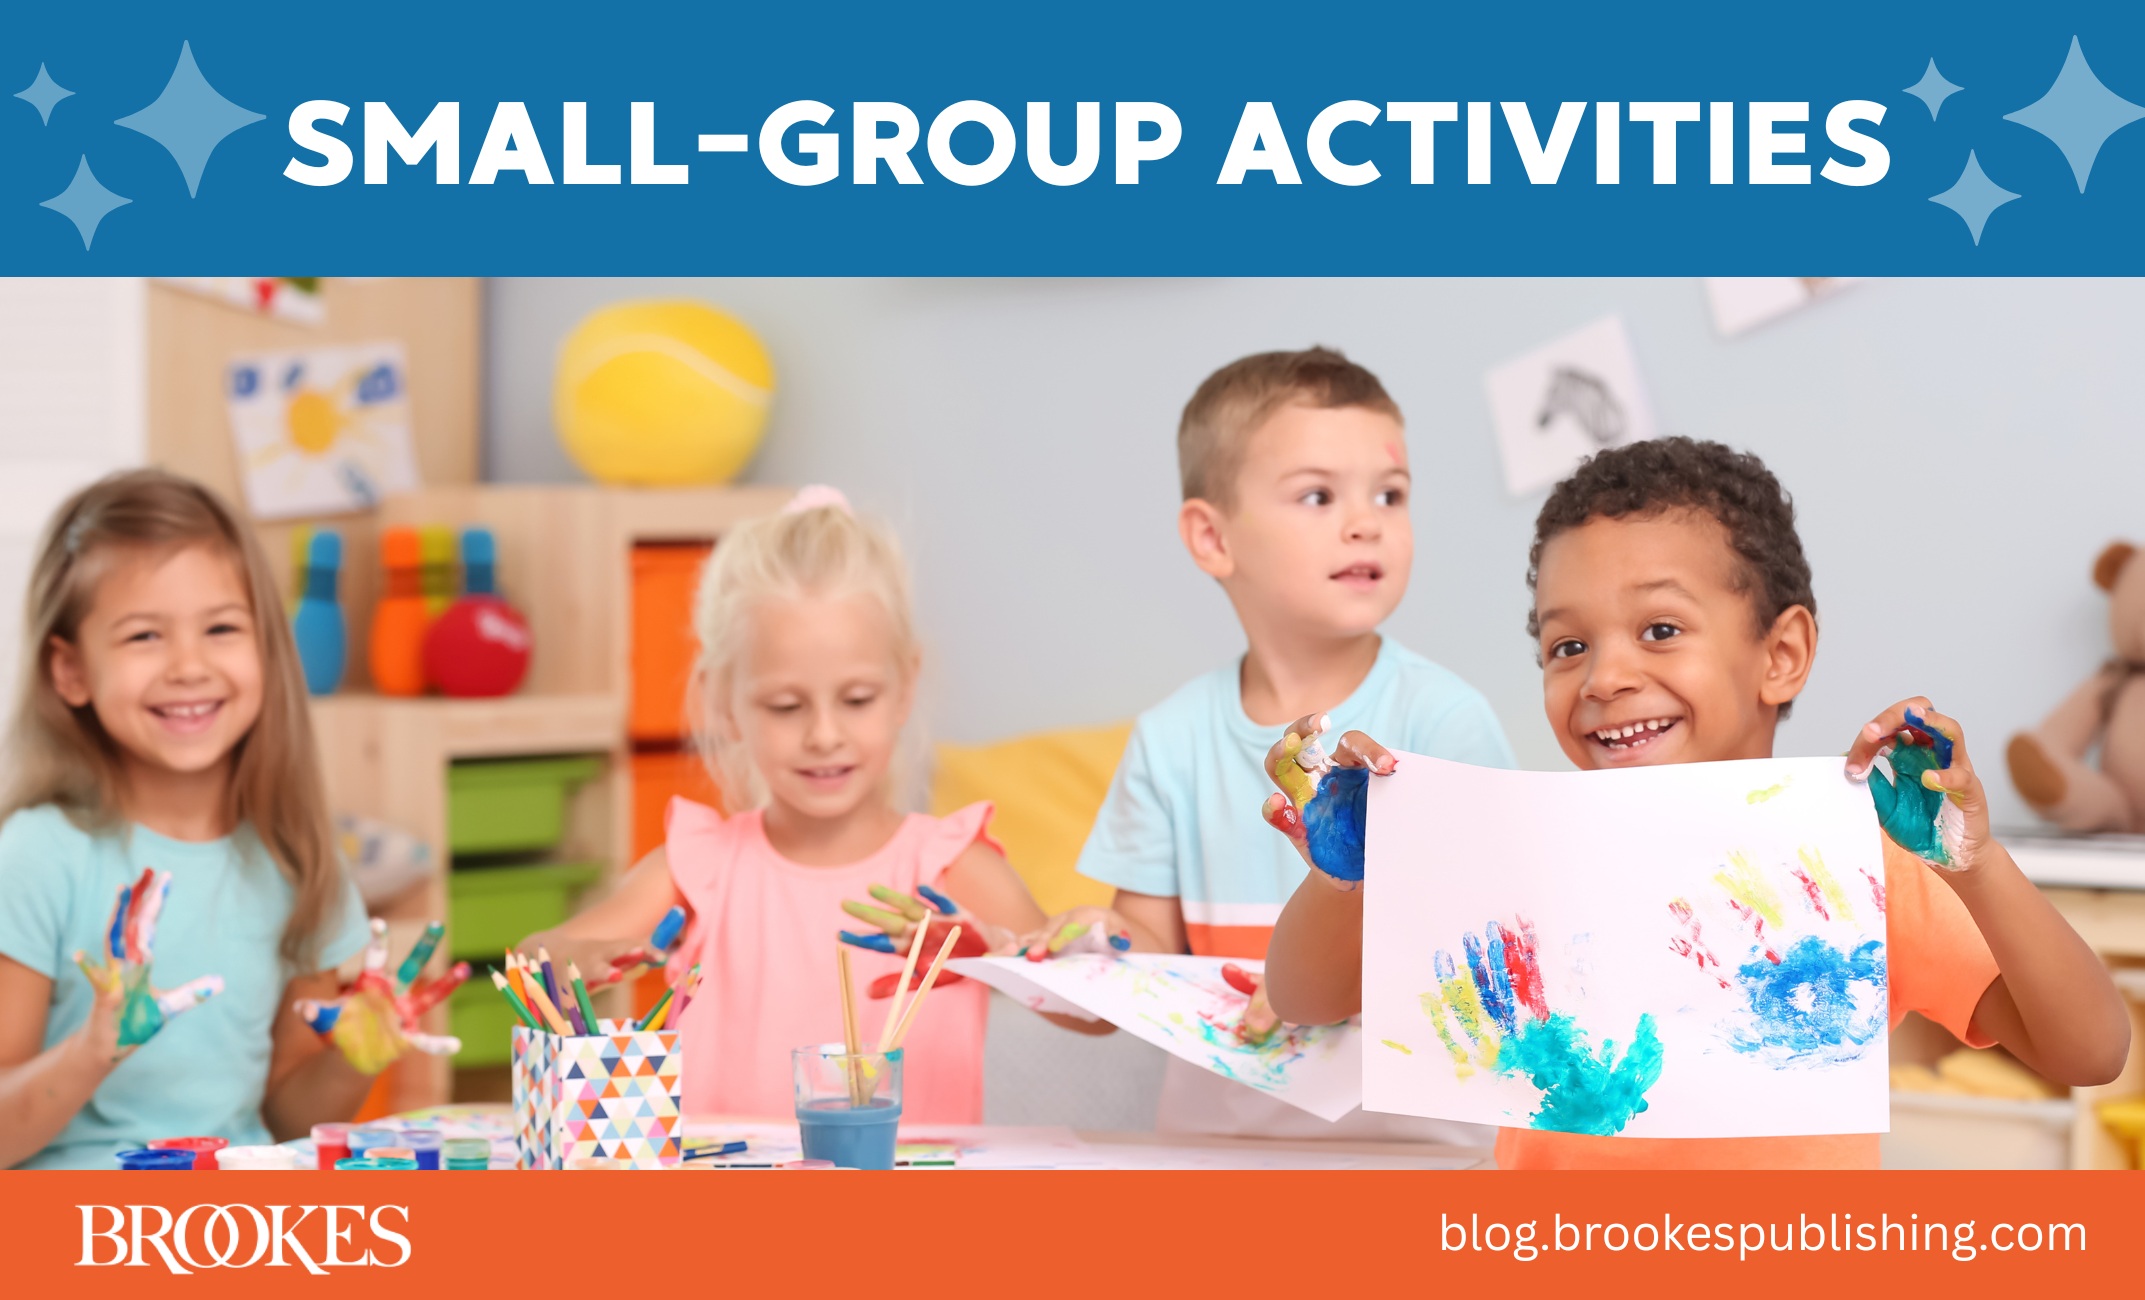
5 Supports for Inclusive Small-Group Activities
June 18, 2026
Write a Comment
Your email address will not be published. Required fields are marked *
Post a Comment